Photos & Video for Sydney, Australia

Local Calls: 02 96984192

Low Light & Vivid Sydney Photography

Beginner Photography Tips on Night Photography Without a Flash, Camera Setting Examples

Speed up and Improve Your Mastering of Low Light Photography

Taking sharp photos in low light can be challenging for both bigger and intermediate photographers. And at times even the full time professional photographers will be challenged to get clear creative photos.

In this article we’ll give you our best pointers and tips on achieving a new level of proficiency.

Firstly we’ll cover a few basics for the people who are beginning their photographic exploration. Then we’ll provide more detailed information on the subject and at the bottom of the page is a gallery with photo examples with the camera settings that were used to capture the photos. First up, the basic of our definition of low light for context.

What do you mean by low light photography?

Low light Photography Definition

Low light photography is described as using specific camera settings that will produce pleasing photos in lighting conditions that humans will need to either use a torch or room lights with the following for clarity.

These settings will produce clear photos as the photographer intended. The settings cannot be used in midday outdoor light conditions as it will blow out the photos.

Further Reading on the meaning; https://en.wikipedia.org/wiki/Night_photography and https://en.wikipedia.org/wiki/Low_light

Night Time Photo of Sydney Opera House

Low Light Photo of Sydney Opera House During Vivid c2014

Advantages of Night photography

Taking photos at night gives you new ways of creative opportunities. Taking photos in bright sunlight can produce harsh shadows and high contrast and it’s not always pleasing.

At night you can soften the appearance of people and their skin which can look younger and radiant.

In midday sun you probably will not be able to take photos with creamy blurred backgrounds with good Depth of field helping to create pop or a 3D effect of your main subject due to the aperture the lens needs to be at i.e. F5 or higher.

In contrast at early sunrise or late dusk your settings will likely be favourable to do just that. Softened background with a sharp main subject in the centre, this effect is known as Bokeh.

Taking photos of a concert stage in daylight doesn’t have the ambience and electric colours of stage photography at night. No lasers, little colour, no depth and spot lights are simple looking.

Night photography of live performances are enhanced with the AV technology and skills of the console operators. See below example.

Outdoor large scale sculptures can be enhanced by spot lights and other strategically placed illuminates.

City skylines look good by day but at night even more so. Take advantage of the extra lighting when planning your next outdoor shoot and have fun in dim lit settings.

Creativity in producing Low Light photos for Vivid Sydney 2023

Night Low light photography is great for creativity

A term or technique that isn’t used much these days is unsharp or motion blur photography.
Without low light it will be difficult to create the same effect. Your photos do not always need to be super sharp or bright to be interesting to look at and possibly show off. Dare to experiment.

Light painting can only be achieved in low light

This is an old favourite of ours, light painting. When the shutter is left open with the appropriate aperture and ISO settings you can have a few seconds or a minute to draw images across your sensor producing unique photos.

Try light painting with writing text, remember it needs to be backwards for it to look correct on your computer screen.

Fireworks look great when it is part ‘ smeared ‘ across the image sensor. If the shutter speed is too fast you’ll get dot points of light rather than trails of light.

Leave the sensor open for 20 or 30 seconds and you’ll get a mass of light and colour in your photos.

Low Light Photos Tips

Taking Sharp Photos in Low Light

We’ve always said to get sharp photos the best way to learn is to create blurry ones intentionally. We encourage you to try it.

Below is one that has intentional blur or unsharp photos that Orlando Sydney created for fun at the Vivid Sydney light festival [Wikipedia] a few years ago.

When you’ve improved your skill level to create your intended amount of motion blur you will improve the sharpness of your regular photos.

You’ll find this skill and understanding handy when shooting in dim lighting.

We’ve tried to get the movement / motion effect in day light and it’s ok but not the same cool effect you get in low light conditions.

The basics of the camera settings you can control

Taking good pictures in low light needs a basic understanding of the exposure triangle as some photographers call it. To keep it really basic we’ll start with the 3 camera settings you can control with most enthusiast cameras and higher specifications further down in the article. Then we’ll describe the 4th way you can control the image output.

Keep the Camera still for Sharp Photos

Either the camera, your main subject or both needs to stay motionless if you want sharp photos.

If either one moves or vibrates in relation to your shutter speed it will be blurred.

If you don’t have a tripod we suggest double your shutter speed for the focal length of the lens.

What does double the focal length mean?

It means double the focal length whereby if your lens is a 50mm focal length, use a shutter speed of 1/100 per second. 2×50=100, then apply inverse function.

If you’ve got a tripod and the subject is ‘still life’ then you can keep dropping your shutter speed to brighten the image.

Contact Us Today to Learn More About Our Corporate Photography Services

Get Good Pictures in Low Light

Taking good pictures in low light

Taking good photos at night doesn’t have to be a mystery. Experiment. In the digital age it is easy and economical to experiment.

In your imagination create an image of what you’d like a scene to look like. If you’re still unsure about all the settings take a guess, capture a frame and then change just one of the 3 settings.

Look at the difference it made. If it looks more to what you had envisioned, awesome, make some notes and keep experimenting.

There is nothing to lose with digital photography with quirky outcomes, they can look very interesting and creative. If you don’t like them, just hit delete and take more shots just for the fun of experimenting.

Advanced Night photography Technique

For an advanced photography exercise try this idea. At night have a friend spin around an LED Hula Hoop or Twirling sticks, if they are not available tie a string around the base of a small torch and spin it around with a long shutter speed with the camera and on a tripod.

Setting example of 3 seconds opened shutter, ISO 1200 and F3.5.

What you’re likely to get is a ring of white light drawn on the sensor.

Now to light up the person spinning the light use a flash with either rear curtain firing or manually fire the flash in hand with enough power to light up the person while at the same time creating light trails. Best of both at night.

Clear sharp main subject and long exposure. Check out the photo below.

Vivid Sydney Cityscape, Low Light Photo Example with Settings

Night City Skyline Photo with camera setting infographic cheat sheet

Night Time Vivid Sydney City Skyline Photo with Camera Settings Infographic. Clouds lit up by city lights adds better framing.

Camera Settings Tips

Suggested Starting Camera Settings

Photography in a dark environment either indoors or outdoors has many variables.

If it’s outdoors how much ambient light is nearby. Perhaps street lights or light pollution from a nearby city.

One common source of light at night is the moon. The full moon above will cast strong shadows. It is very bright.

These factors will play a part in the final camera settings you use.

To help you get started try these camera settings and make adjustments from there for the desired creative output.

Aperture means the size of the hole inside your lens. The bigger the more light that can pass onto your sensor. Try F1.8 to F3.5, this will provide a big opening.

ISO means your digital camera sensor sensitivity. The more sensitive it is the more light it can capture and record. Higher numbers mean more sensitivity. Try ISO 1200. This is about midway on modern sensors.

Shutter speed means how fast or slow the shutter opens and closes. The longer it stays open the more light reaches the sensor. On a tripod try a shutter speed of 2 seconds. This will be a great starting point for city skyline photos. This also applies to mirrorless cameras as they have an electronic shutter instead on a physical mechanical one.

Night Sky Photography

Whether you’re photographing your City Skyline at night or the stars both will deliver dramatic eye catching photos.

The techniques are similar and so too is the equipment you need.

Camera, lens, tripod and a good vantage point.

A trigger release either of the cable type or electronic is handy but not essential as most cameras will have a timer function of some sort. Set it to 3 seconds.

Manually press the shutter button and any vibration will dissipate before the shutter opens. Try it. See photo example below.

Light Trails Photography Tips

LED light twirling portrait with fill flash, Infographic for taking night photo

Portrait Photography

Low Light Portrait Photography

Low light portraits can be challenging for both intermediate and more advanced photographers.

What helps in taking sharp photos for portraits is to sacrifice image detail with a faster shutter speed if you need too.

For example if you were photographing a still life image you could use;

F4 + ISO400 + 4 second shutter speed.

For a portrait try these settings instead;

F2.8 + ISO1600 + 1/50 second shutter speed.

With a steady hand and motionless model you’ll have a good chance of a good sharp photo.

Make minor adjustments for your specific lighting conditions as needed. See above advanced portrait example.

Mix Low Light with Flash Photography

We use flash or Speed light as Nikon calls them at most of our shoots, indoor or outdoor, dimly lit room or bright full sun, we like using them. Check out our Event Photography tips page for more details.

So when the need arises for blending of the two it can certainly achieve a great result with careful consideration.

This is more of an advanced photography technique by when achieved you are doing well at mastering control over the photo output.

A use case for mixing flash at night time or in a dim light setting is when you’d like to capture a city skyline photo with the buildings all lit up pretty in the background and also capture bright crisp photos of people in the foreground.

Not easy but when the settings are dialled in, the photos look great.

What is Low Key Photography?

Low key photography is a style that is confused with low light photography. Not necessarily the case. For example.

Low key photos can be taken in bright light but by using different camera settings with some artificial light such as powerful flashes or strobes. Low key style photos can be achieved with plenty of light in the room for you to easily read a book. Low key photography is not the same as low light photography.

Laser lights from Stage Night Time Photos

Stage Light Lasers Look great on dark nights. Camera Setting Infographic Cheat Sheet as an Example.

Night Photography Q&A Basics

How do you take good pictures in low light?

Taking good pictures in low light is possible with most cameras with manual settings. Use the tips and techniques on this page.

What is the best ISO setting for low light?

As the creator of the photo you decide what you’d like the output to be. Making the picture too bright in a dark room may not be the desired look. Try from ISO 800-3200 or higher.

How do you get high shutter speed in low light?

High shutter speed can be obtained by increasing the sensor sensitivity, use the most open aperture on the lens and you’ll be able to get higher shutter speeds. See example on this page of fast action photo on stage.

Is low light photography possible with Mobile phones?

Low Light photography is possible with both Android [Google AI Technology] and iPhone that have manual settings. Mobile phone photography may be covered another time. If you’re really geeky and interested in the developing AI technology, check out that page.

Low light photography Examples Gallery

Infographic Photo Example Light Trails Night Fire Twirling Photo

Infographic with Settings for Fire Twirling Light Trails Photo

Low Light Photo With Fast Shutter Example Infographic

Low Light Photo With Fast Shutter Speed Example Infographic

Low Light Stage Photo Example with Tips Info Graphic

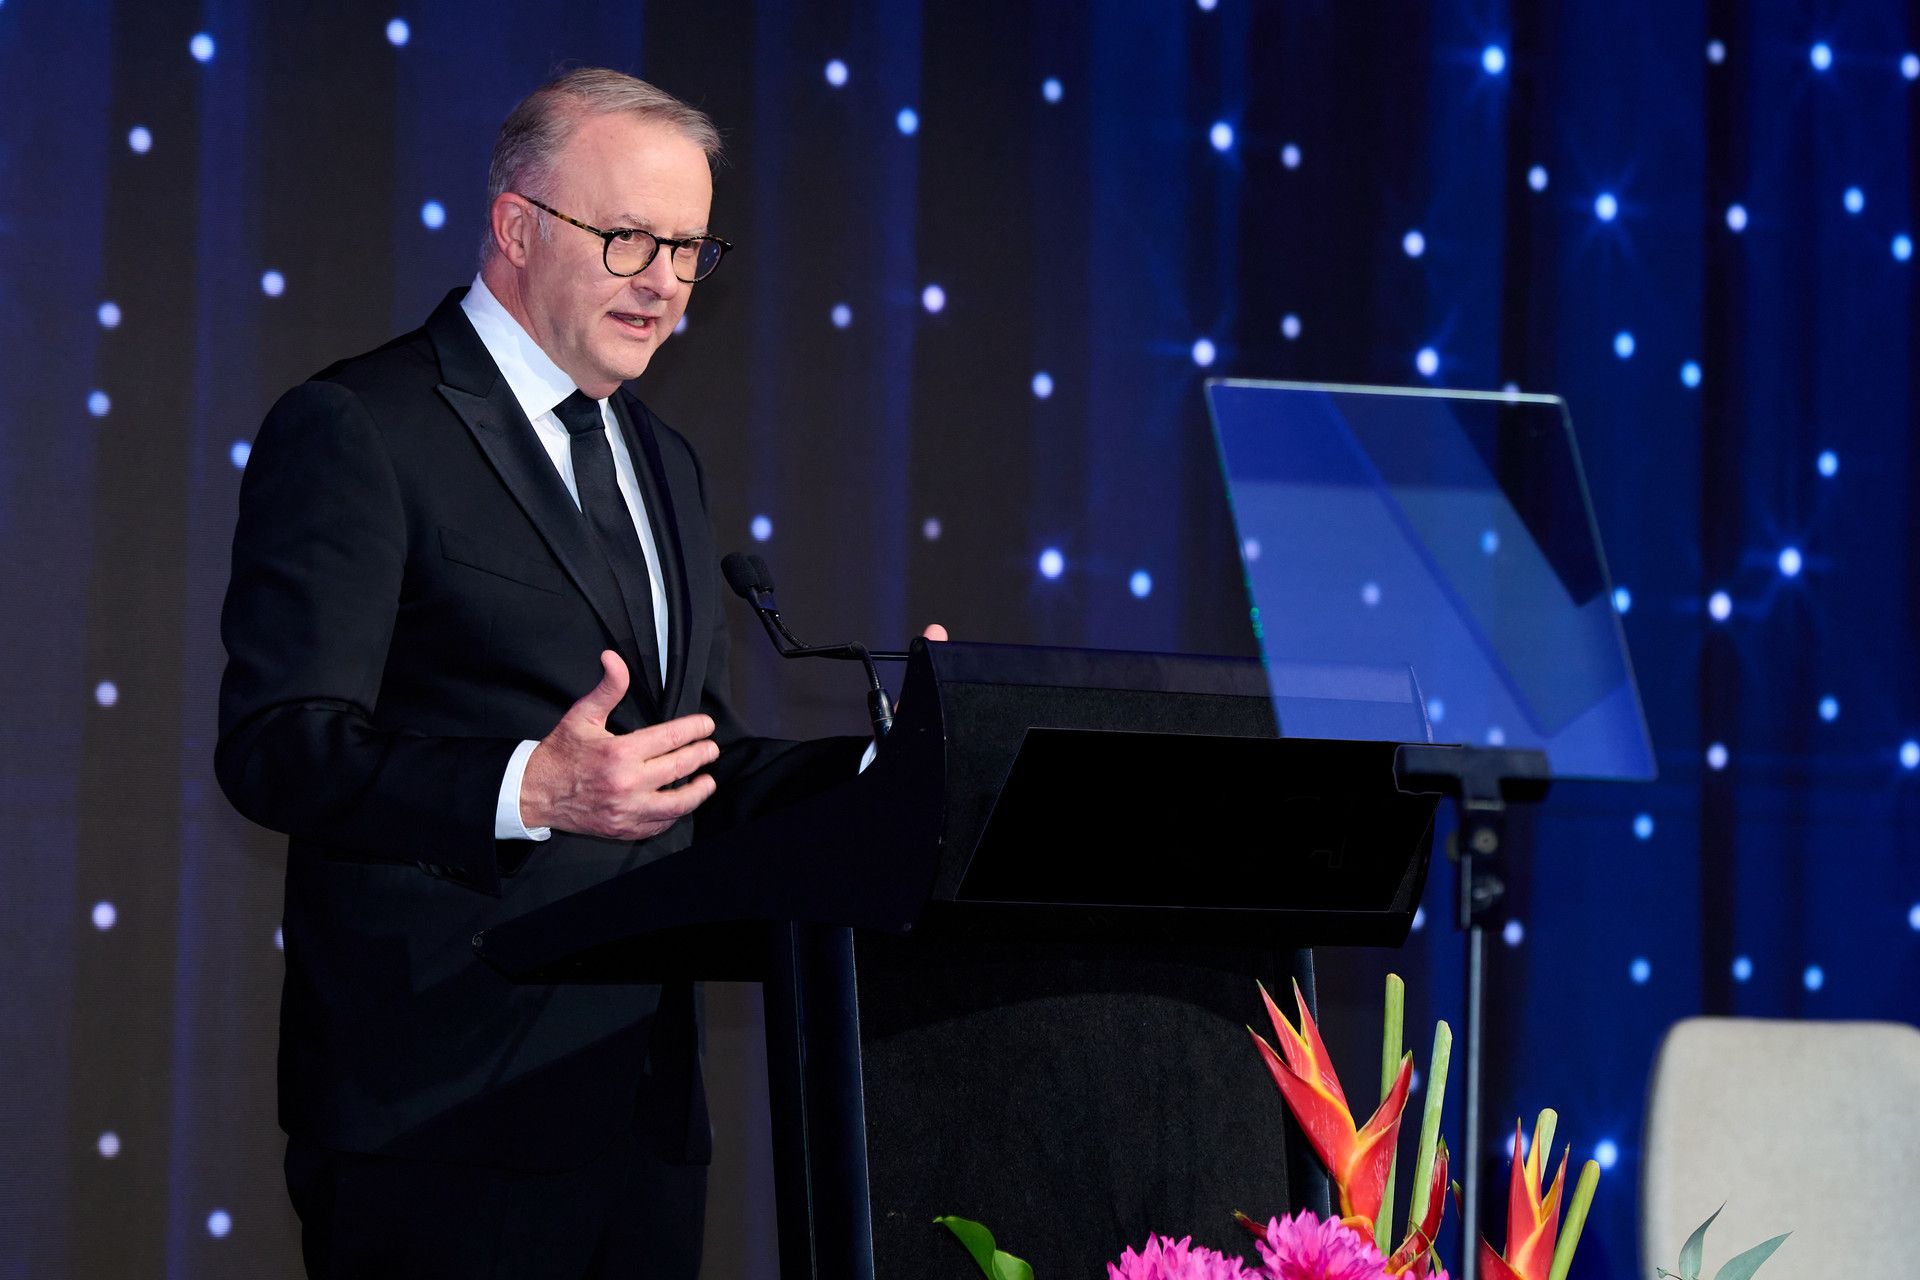
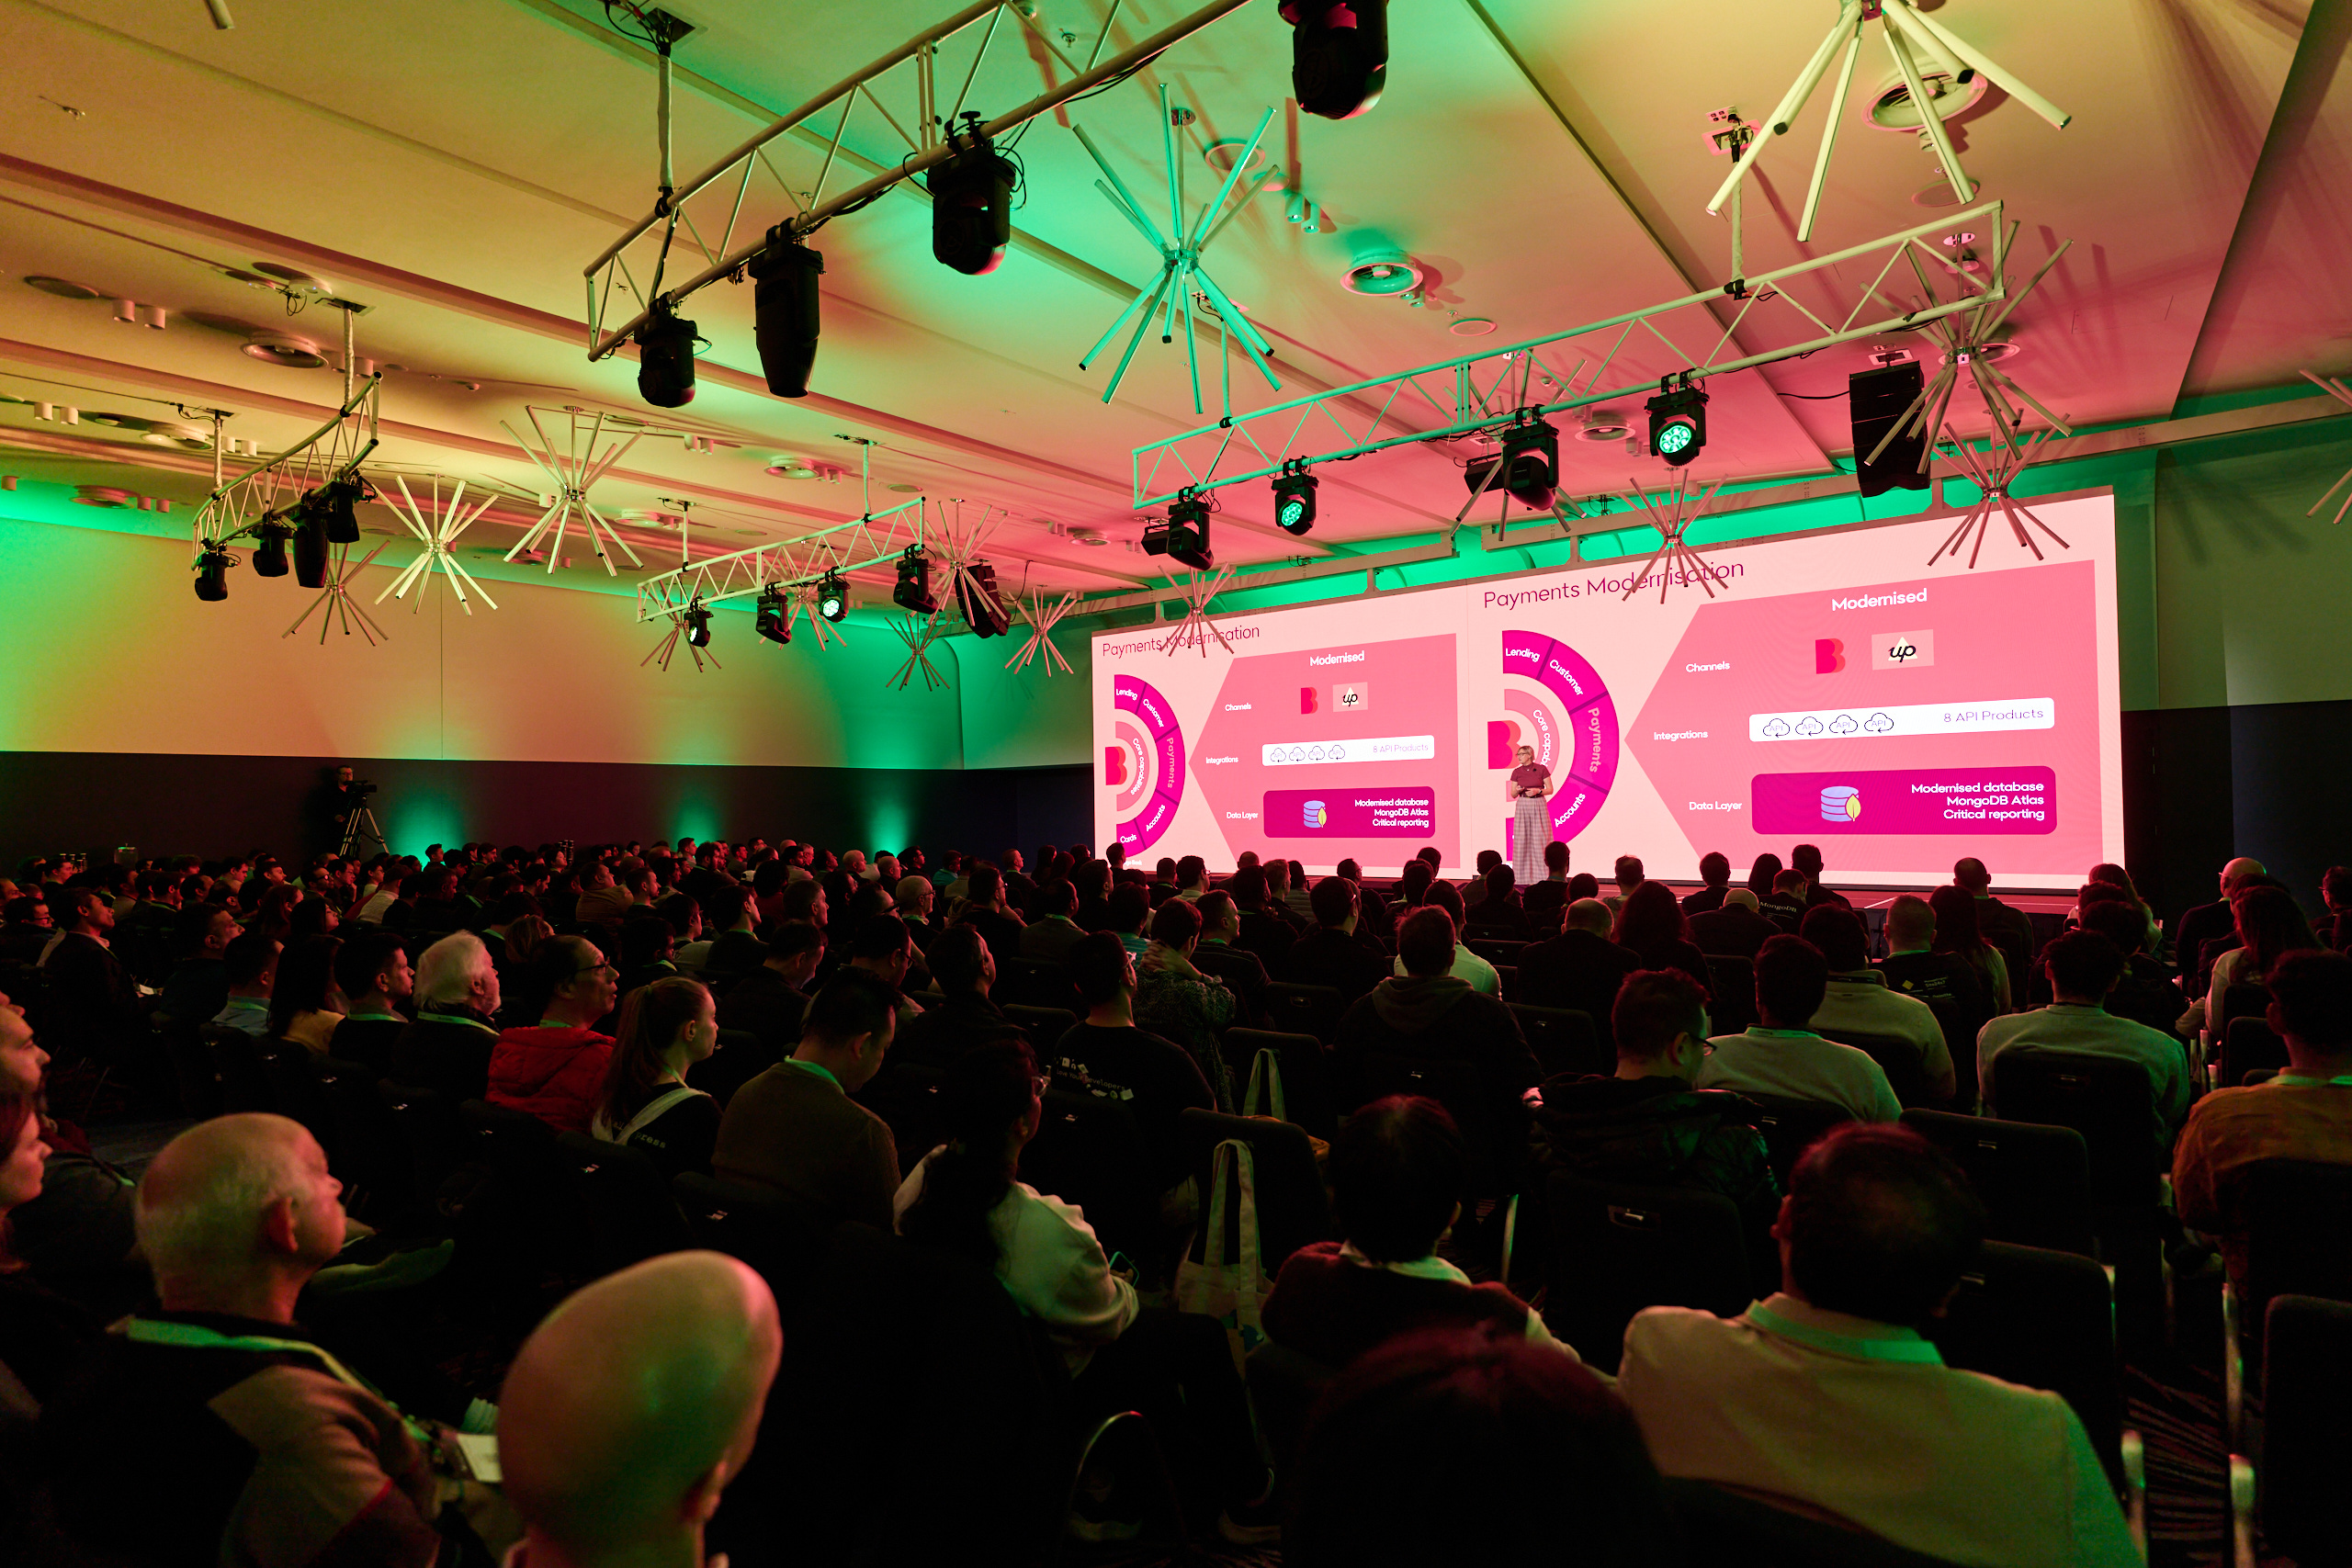
Low Light Stage Photo Example with Settings Tips Info Graphic

Motion Blur Unsharp Photo Example in Low Light

Infographic for Motion Blur Unsharp Photo in Low Light During Vivid Sydney

Indoor Low Light Fashion Parade Settings Tips

Indoor Lighting Fashion Parade Settings Tips

Articles to read next
Corporate Event Photography Sydney

Corporate events such as awards, gala dinners, conferences, ceremonies, plenaries, workshops and product launches, plus more.

Professional Portrait in Sydney Photo. By Photographer orlandosydney.com

Portrait Photography in Sydney, North Sydney & CBD. Individuals, Couples & Families. Outdoors in your home or office.

Professional Headshot Photography Sydney

Corporate headshots will accelerate the careers of woman and men in business. Be authentic, be current, be the influencer.

Free Photographer Brief Templates

Photography Brief Ideas and Templates. All you need to know for small and large events both indoors and outdoors.

It takes less than 30s & it’s free
2024-02-23T18:21:55+11:00